Are you struggling with a pesky air leak in your truck? If so, you’re not alone. Fortunately, there are a few simple steps you can take to fix the problem. In this blog post, we’ll discuss how to fix an air leak on your truck with just a few easy steps. Whether you’re a novice or an experienced mechanic, you’ll be able to find a solution that works for you. Read on to learn the three best ways to repair your truck’s air leak.
1: Inspect All Hoses and Pipes
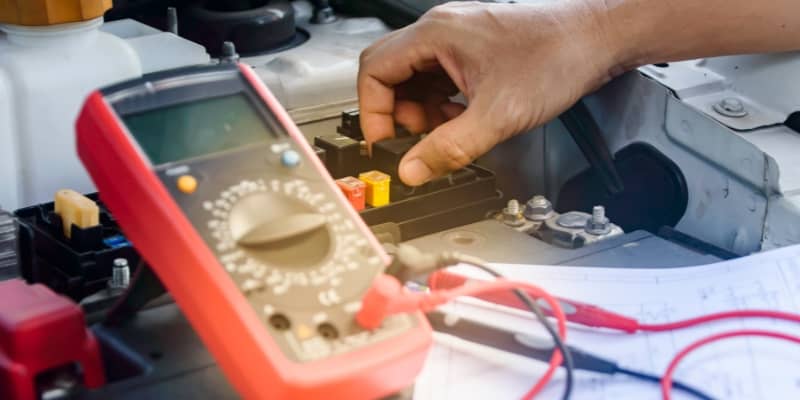
If you’re wondering how to fix an air leak on your truck, inspecting all hoses and pipes is a good place to start. It’s important to check these components as they are often the cause of air leaks in trucks. Check for any signs of wear and tear, including cracks, splits, or tears. If necessary, replace the affected hose or pipe to prevent further air leakage.
When looking at the hoses, check the connections as well. If the connection is loose, tighten it. It’s also a good idea to check that the hose clamps are secure and not loose.
Additionally, make sure all the hoses, are properly attached to the truck frame or engine block. If the hoses are not securely fastened, air can escape easily. To fix this issue, use a socket wrench or screwdriver to tighten all bolts and nuts that are holding the hoses in place.
Inspecting all hoses and pipes for wear and tear is one of the most effective ways to find and fix an air leak on your truck. Taking the time to properly check and repair these components can save you from major issues down the road.
2: Check for Damaged Gaskets and Seals
When trying to fix an air leak in your truck, it is important to check for any damaged gaskets and seals. These components are responsible for containing the air pressure within the system and if they become worn or damaged, it can lead to significant air leakage.
The first step in how to fix an air leak on a truck is to inspect the gaskets and seals for any signs of wear. If they appear brittle or torn, they should be replaced immediately. Additionally, any seal that appears loose or out of place should also be replaced as soon as possible. If you are unable to identify which seal is causing the issue, then it is best to replace all of them.
Finally, be sure to inspect any areas where the seals meet metal parts, such as the engine block, oil pan, and transmission case. If these connections are loose or damaged, then it may be necessary to replace them as well. Doing so will help ensure that the air leak on your truck is properly sealed and prevent further damage from occurring.
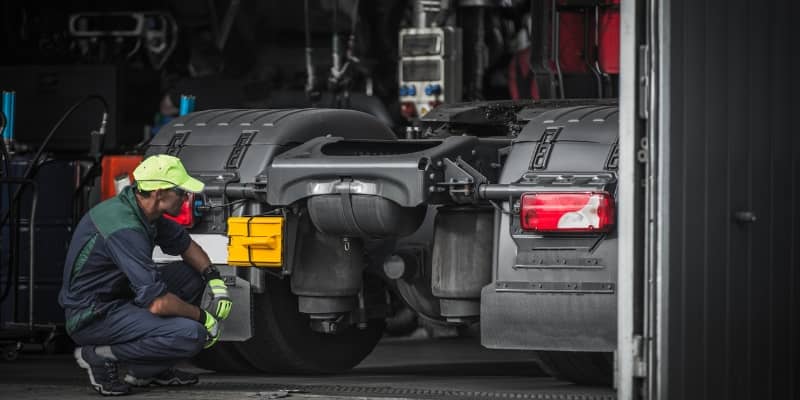
3: Inspect the Air Compressor
If you suspect your truck has an air leak, the first thing you should do is inspect the air compressor. This can be done by checking for any oil or coolant leaks that could be coming from the air compressor. If you notice any signs of leakage, it’s important to take care of them right away to prevent further damage.
To fix the leak, make sure you have the right tools and supplies. You’ll need an adjustable wrench, socket wrench, gasket sealant, a new gasket, and the appropriate replacement parts if necessary. Once you’ve collected all the necessary items, you can begin the process of fixing the air compressor.
Start by loosening the bolts that secure the compressor’s covers with the adjustable wrench. Then, use the socket wrench to remove the cover screws and take off the old gasket. Clean off any dirt or debris from the area before applying the new gasket. Once you’ve replaced the gasket, you can put back the covers and bolts, using the socket wrench to tighten everything securely in place.
Finally, make sure that you apply a generous amount of sealant over the new gasket before you replace the covers. This will help ensure that no air is leaking out of the compressor. After that, you’re good to go! With these easy steps, you’ll know how to fix an air leak on your truck in no time.